
Installations, Wood Burner Installation
Installing a flexible flue liner

15
Feb
Feb

Fitting a flexible flue liner | A Brief Guide
Installing a flexible flue liner is a critical task that requires careful planning and execution. A flue liner is an essential component of a chimney system as it provides a protective barrier between the inside of the chimney and the surrounding masonry. It also helps to improve the efficiency of the chimney by creating a smooth, uninterrupted airflow.
To begin with, it’s essential to measure the dimensions of the chimney to determine the size of the flexible flue liner needed. This involves measuring the diameter of the flue as well as the height of the chimney. The liner should be at least the same diameter as the flue to ensure a proper fit.
Next, you’ll need to prepare the chimney for installation. This includes removing any debris or obstructions from the chimney, such as bird nests or other debris. It’s also important to inspect the condition of the masonry to ensure that it’s in good condition and does not require any repairs.
Once the chimney is prepared, the flexible flue liner can be installed. This involves feeding the liner down the chimney from the top, using a special tool called a flue liner cone. The cone is attached to the liner and is used to guide it down the chimney in a straight line.
Further, as the liner is fed down the chimney, it’s important to ensure that it’s not twisted or kinked, as this can restrict the flow of air and reduce the efficiency of the chimney. Moreover, it is important to make sure that the liner is properly secured to the chimney at the top and bottom.
Flue liner installation | What to do next?
Once the flexible flue liner is installed, it’s important to test it to ensure that it’s working correctly. This involves checking the draft of the chimney, which is the movement of air through the chimney. Importantly, good draft ensures that the chimney is working efficiently and that there are no blockages or other issues.
In conclusion, the following key points should be considered:
- Installing a flexible flue liner is a critical task that requires careful planning and execution.
- It is important to measure the chimney, prepare it for installation, feed the liner down the chimney using a flue liner cone, ensure that it’s not twisted or kinked.
- Test it to ensure that it’s working correctly.
- With proper installation, a flexible flue liner can help to improve the efficiency of a chimney and ensure safe operation for years to come.
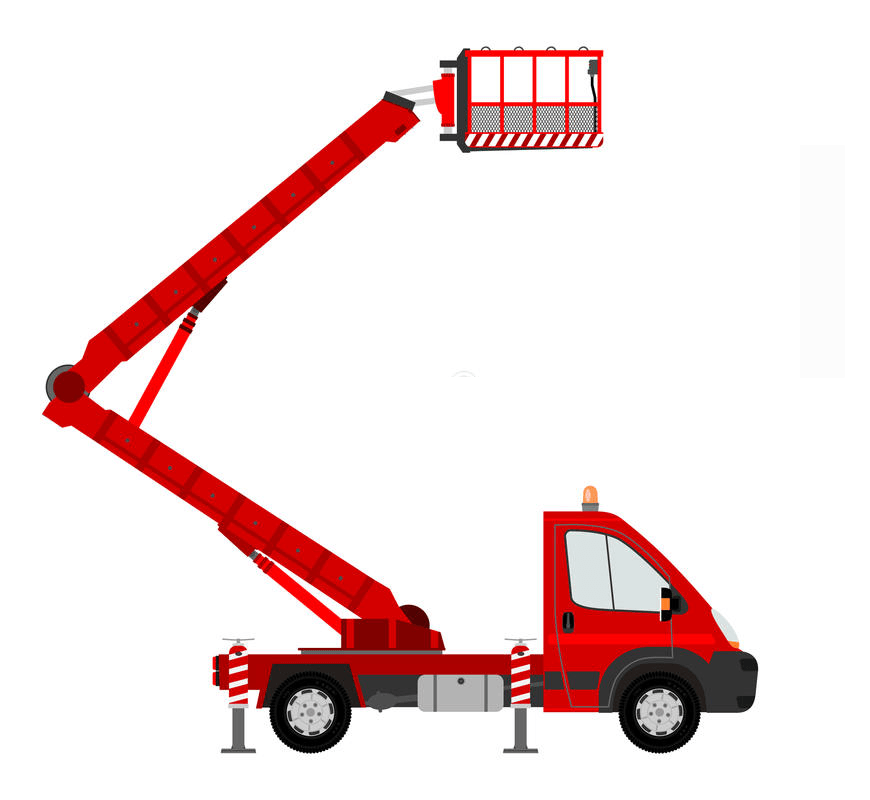
Installing a flexible flue liner may require specific access equipment.
Safety should be carefully planned and considered before attempting to install a flexible flue liner.
At Hot Box ®, the health, safety and welfare of all our teams a=is of paramount importance to us.
When undertaking stove installation surveys, we will carefully consider the access required.
Where access constraints exist, and we cannot properly plan the use of ladders, we will always use a cherry picker to install flexible flue liners.
The advantages are clear and can be outlined as follows:
- Safety, a cherry picker can safely take a person to the area of work with the appropriate length of flue liner.
- The machine allows a clear view of the top of the stack and can be used to get above the stack to feed the liner down the flue.
- Consideration can also be given to the condition of the chimney stack and any repairs can be carried out.
- Fitting the chimney terminal or cowl is easier.
- Damage to the roof coverings is mitigated, unlike when scaffolding or ladders and roof ladders are used.


 Stoves
 Bio Ethanol Fires
 Beams
Beams Fireplace Surrounds
 Hearths
 Fireside Services
 Logs For Wood Burner
 Outdoor Living
 Instant Quote
 Contact Hot Box®