
Freestanding Woodburner Installation
Parkray Aspect 5 installation with Twin wall chimney system

17
Aug
Aug
Parkray Aspect 5 installation with Twin wall chimney system
- Where: Easingwold
- When: 08/17/2020
- Stove Installation took: 1 day
- Stove Brand: Parkray Stoves
- Stove Model: Aspect 5 with small log store
- Flue Type: Out and Up Twin Wall
Stove Project Overview
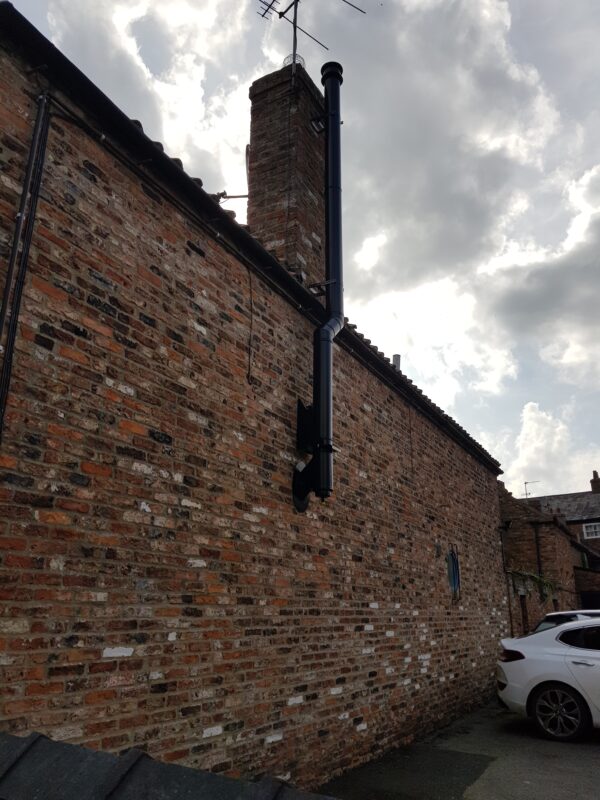
Our client requested to install a freestanding woodburner with a large glass front that fits nicely in a pre-existing but altered fireplace. As the chimney breast was nearly completely removed and the masonry chimney itself was planned to be used for a gas fire on the first floor, we had to make our own chimney with twin wall system. As the opening is tall but relatively narrow, we chose a woodburner with a small log store to match the proportions of the fireplace. The customer wanted something with a large front glass so we chose the Parkray Aspect 5 on a plinth. We used Schiedel twin wall system all the way from start to finish to achieve a smarter look. We started off straight with our chimney system and planned to break through the wall as high as it’s possible. Once again, the trickiest bit was the planning and calculations for the 45 degree whole in the wall. After we measured again everything (once you broke through the wall there is no turning back) we removed the stove and put it aside. The breaking was relatively straight forward job and once the whole was ready, we fixed our stainless steel wall sleeve with fast setting cement mix. After this we put our stove back on its final position and started to build our chimney up, out through the wall sleeve and upward again on the outside of the building. The first component outside is a special 135 degree bend with a cap on the bottom (the cap is for easier sweep access and to allow for condensation to drip out without getting into the woodburner). This needs to be mounted on the outside wall with wall anchors and a special triangular plate. This will give plenty enough strength for the rest of the chimney system. Once this wall brace is fixed and we ensured that everything is level in every way (easier said than done) we could finally start to build the chimney upwards. We had to use a small bend to avoid getting to close to the plastic gutter. We used the original masonry chimney to fix our stainless steel system with wall brackets and finished the job with an anti downdraught terminal. We installed an oval cover plate on both side of the wall, and used high-temperature silicone to make the outside watertight. As a finishing touch on the inside, we resprayed the flue system to match it up with the color of the stove. As usual we installed a CO alarm in the room and fitted a data plate with some essential information about the installation.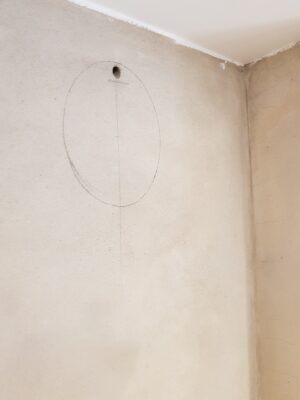


The end result
Upon completion we tested the installation by making a small fire in the woodburner. This is also the perfect opportunity to explain the operation of the stove to the client and to talk about how to chose the right fuel and how to maintain the appliance. The customer was really satisfied with the end result and cannot wait for the colder weather when they can start enjoying a real fire in their living space.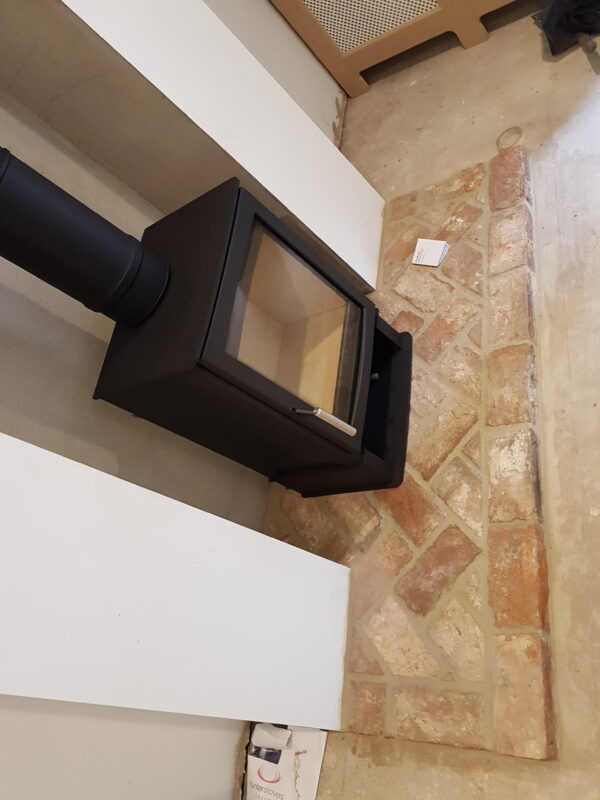
Need a stove installation like this quoting?
Free Instant Quote Click Here Check out this stove brands rangeInstagram follow Hotboxstoves

 Stoves
 Bio Ethanol Fires
 Beams
Beams Fireplace Surrounds
 Hearths
 Fireside Services
 Logs For Wood Burner
 Outdoor Living
 Instant Quote
 Contact Hot Box®